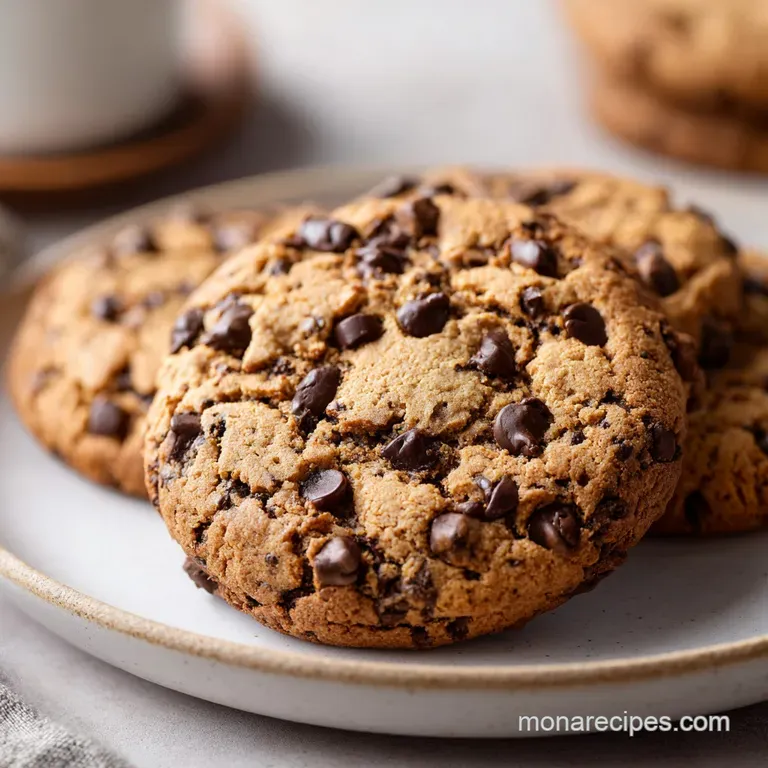
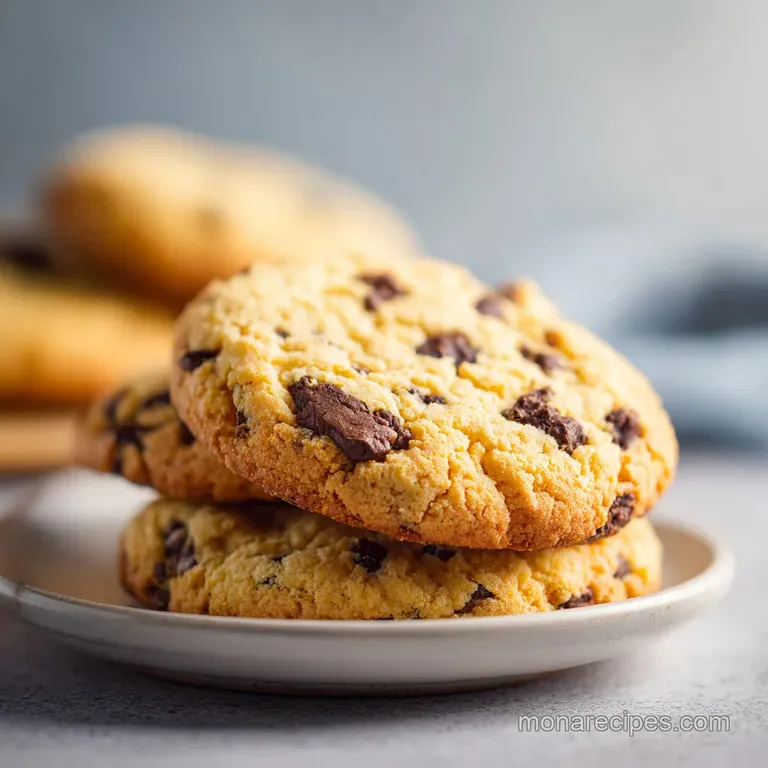
Easy Chewy Chocolate Chip Cookies: Soft and Buttery
- Time:15 minutes active + 30 minutes chilling = 55 minutes total
- Flavor/Texture Hook: Velvety centers with buttery, golden brown edges
- Perfect for: Weekend baking, gift boxes, or a rainy afternoon treat
Selecting Your Baking Components
| Ingredient | Role in Recipe | Pro Tip |
|---|---|---|
| Light Brown Sugar | Adds moisture and caramel notes | Pack it firmly into the cup to get the correct weight |
| Cornstarch | Softens the flour's crumb | Sift it with the flour to avoid tiny white clumps |
| Extra Egg Yolk | Increases richness and "chew" | Save the leftover white for a morning omelet |
| Pure Vanilla Extract | Provides the aromatic backbone | Use high-quality extract; imitation doesn't survive the heat as well |
When you are making an easy chewy chocolate chip cookie from scratch with vanilla, the quality of your ingredients dictates the final result. I always reach for unsalted butter so I can control the sodium levels myself. If you only have salted butter, you’ll need to cut the sea salt in this recipe by half.
Also, make sure your light brown sugar is fresh; if it’s hard as a rock, the molasses has dried out, and your cookies won't have that signature softness.
| Original Ingredient | Substitute | Why It Works |
|---|---|---|
| Unsalted Butter (1 cup) | Vegan Butter Sticks | Use high fat sticks. Note: Texture may be slightly more oily. |
| Light Brown Sugar (1 cup) | Dark Brown Sugar | Higher molasses content. Note: Result will be darker and more "toffee like." |
| Semi sweet Chips (2 cups) | Dark Chocolate Chunks | Higher cocoa percentage. Note: Less sweet, but creates beautiful "pools" of chocolate. |
For the flour, stick with all purpose. Bread flour has too much protein and will make these tough, while cake flour is too delicate to support the weight of two full cups of chocolate chips. The cornstarch acts as our "modifier," essentially creating a DIY pastry flour that is custom built for chewiness.
Required Tools for Success
You don't need a professional pastry kitchen to pull this off, but a few specific tools make the process foolproof. A large mixing bowl is essential for the "wet sand" phase where we cream the butter and sugars.
While you can do this by hand with a sturdy wooden spoon, a hand mixer or a stand mixer (like a KitchenAid) will give you a much more consistent aeration without wearing out your arm.
Chef's Tip: Use a spring loaded cookie scoop. Not only does it keep your hands clean, but uniform dough balls ensure every single cookie in the batch finishes baking at the exact same second.
I also highly recommend using parchment paper or a silicone baking mat. Greasing a cookie sheet with butter or spray actually encourages the dough to spread more, often leading to greasy, thin cookies. The parchment provides a "grip" for the dough, helping it hold its height.
Plus, clean up takes about five seconds, which is a win in my book.
The step-by-step Baking Method
- Cream the Base: In a large mixing bowl, combine the 1 cup of softened unsalted butter, 1 cup light brown sugar, and 0.5 cup white sugar. Beat for exactly 2 minutes. Note: You want a texture like wet sand; the sugars should be partially dissolved into the fat.
- Emulsify the Liquids: Add the whole egg, the extra egg yolk, and the 2 tsp of pure vanilla extract. Beat on medium high speed until the mixture looks glossy and smooth.
- Combine Dry Ingredients: In a separate bowl, whisk together the 2.25 cups all purpose flour, 1 tsp baking soda, 1 tsp cornstarch, and 0.5 tsp sea salt.
- Integrate the Dough: Slowly add the dry ingredients to the wet. Use a silicone spatula to fold by hand until the last streaks of white flour disappear.
- Add the Chocolate: Fold in the 2 cups of semi sweet chocolate chips. Ensure they are evenly distributed so no cookie is left "chocolate less."
- The Chill Phase: Cover the bowl and place it in the refrigerator for 30 minutes. Note: This is mandatory for the fats to solidify and the flour to fully hydrate.
- Preheat and Prep: Set your oven to 350°F (175°C) and line your baking sheets with parchment.
- Scoop the Dough: Form rounded tablespoons of dough and place them 2 inches apart on the sheets.
- The Precise Bake: Bake for 10 minutes. Look for golden edges while the centers still appear slightly soft and pale.
- The Rest: Let the cookies sit on the hot tray for 5 minutes before moving them to a wire rack. Note: They will finish cooking through during this time.
Solving Your Cookie Problems
Why are my cookies flat and greasy?
This usually happens if your butter was too warm when you started or if you skipped the chilling step. If the fat is already near its melting point when it enters the oven, it will liquefy before the flour has a chance to set the structure.
Another culprit can be over creaming the butter and sugar; if you beat them for 5-10 minutes instead of 2, you incorporate too much air which then collapses.
| Problem | Root Cause | Solution |
|---|---|---|
| Cookies Spread Too Much | Butter was too soft/melted | Chill dough for 30-60 mins before baking |
| Cookies Are Tough | Over mixing after adding flour | Fold by hand until flour just disappears |
| Dry/Crumbly Texture | Too much flour used | Spoon and level flour; don't pack it into the cup |
Why are my cookies tough and dry?
The most common reason for a tough cookie is over mixing the dough once the flour is added. Mixing develops gluten, which is great for bread but terrible for an easy chewy chocolate chip cookie from scratch with vanilla. Use a "folding" motion and stop the second you see no more white flour.
Also, check your flour measurement if you scoop the flour directly with the measuring cup, you might be packing in 20% more than needed.
Common Mistakes Checklist
- ✓ Check your butter temperature: It should be soft enough to indent with a finger but still feel cool to the touch.
- ✓ Don't skip the extra yolk: That 18 grams of extra fat is the difference between "okay" and "amazing."
- ✓ Preheat for at least 15 minutes: Ensure the oven is truly at 175°C before the first tray goes in.
- ✓ Use parchment, not grease: This prevents "spreading syndrome" and ensures even browning on the bottom.
Simple Substitutions and Adaptations
If you need a gluten-free version, this recipe adapts surprisingly well. Replace the all purpose flour with a high-quality 1 to-1 gluten-free flour blend (the kind that includes xanthan gum).
Because gluten-free flours take longer to absorb moisture, I recommend increasing the chill time from 30 minutes to a full hour. This prevents the cookies from feeling "gritty" or sandy.
For a dairy-free or vegan twist, you can swap the butter for a high fat vegan butter stick. Avoid the "tub" versions, as they contain too much water and will make the cookies steam rather than bake. For the eggs, a commercial egg replacer works best here to maintain the chewy structure.
If you go this route, the flavor of the vanilla becomes even more important, so don't skimp on the pure extract!
Decision Shortcut: Choosing Your Texture
- If you want extra crispy edges: Use melted (but cooled) butter instead of softened butter and skip the chilling.
- If you want a "puffy" bakery style: Add an extra 0.25 cup of flour and increase the baking soda to 1.25 tsp.
- If you want a deep toffee flavor: Brown the butter in a pan first, let it solidify back to a soft state, then proceed with the recipe.
Storage and Keeping Fresh
To keep your cookies soft for up to 5 days, store them in an airtight container at room temperature. A little trick I learned from my grandmother: put a single slice of white bread in the container with the cookies.
The cookies will actually pull the moisture out of the bread, keeping them incredibly soft while the bread turns into a crouton. It sounds like magic, but it’s just simple moisture migration!
You can also freeze the baked cookies for up to 3 months. Just make sure they are completely cool before bagging them to avoid condensation. For the best "just baked" experience, pop a frozen cookie in the microwave for 10-15 seconds. The chocolate will re melt, and the center will regain that velvety texture we love.
Zero Waste Tip: If you find yourself with broken cookie pieces or a few that got a bit too crunchy, don't throw them away! Pulse them in a food blender to create cookie crumbs. These make an incredible base for a cheesecake crust or a crunchy topping for vanilla bean ice cream.
Best Serving and Pairing Ideas
While a glass of cold milk is the gold standard, these cookies are sophisticated enough for a proper pairing. The high vanilla content makes them a natural partner for a medium roast coffee or even a nutty Earl Grey tea.
If you're serving them for a dinner party, try making "mini" versions and serving them alongside a small dish of sea salt caramel for dipping.
If you want a gourmet finishing touch, sprinkle a tiny pinch of flaked sea salt (like Maldon) over the cookies the second they come out of the oven. The salt cuts through the sweetness of the brown sugar and makes the chocolate flavors absolutely sing.
It’s a small step that makes the whole batch feel like it came from a high end boutique bakery.
| Method | Time | Texture | Best For |
|---|---|---|---|
| Standard Oven | 10 mins | Soft and Chewy | The classic experience |
| Air Fryer | 7 mins | Extra Crispy Edge | Quick single serving craving |
| Convection | 8 mins | Evenly Golden | Baking multiple trays at once |
Cooking Myths Debunked
One of the biggest myths in baking is that you need to beat the eggs until they are frothy. In reality, for a chewy cookie, you want to incorporate the eggs just until they are emulsified.
Over beating the eggs adds too much air, which leads to a "cakey" cookie that rises and then falls, creating a wrinkled, dry surface. We want density, not lift.
Another common misconception is that "room temperature" butter means it should be shiny or oily. If your butter is that soft, it’s actually too warm. True room temperature butter should be about 18-20°C. It should resist your finger slightly.
If it's too warm, your easy chewy chocolate chip cookie from scratch with vanilla will lose its structural integrity before the oven heat can set the edges. Stick to the 2 minute cream time and the 30 minute chill, and you’ll conquer the perfect bake every single time.

Recipe FAQs
Is it necessary to chill the dough for the full 30 minutes?
Yes, chilling is essential for the best texture. This step allows the butter to solidify and the flavors to concentrate, which prevents the cookies from spreading too thin in the 350°F oven.
Is it true I can skip the extra egg yolk to make the cookies lighter?
No, this is a common misconception. The extra yolk provides the necessary fat and protein to achieve that signature chewy texture; omitting it will result in a dry, cake like cookie.
How to keep these cookies soft for several days?
Store them in an airtight container with a slice of white bread. The cookies absorb moisture from the bread, keeping them soft for up to 5 days instead of drying out.
Can I use a stand mixer to mix the flour into the butter mixture?
No, stick to folding by hand with a silicone spatula. Over mixing the dough with a machine develops too much gluten, which will ruin the chewy consistency and make your cookies tough.
How to tell when the cookies are finished baking?
Remove them from the oven at exactly 10 minutes when the edges are golden. The centers should still look soft and slightly underdone, as they will continue to firm up while cooling on the pan.
Should I melt the butter before beating it with the sugars?
No, the butter must be softened, not melted. Using softened butter ensures the proper aeration required during the 2-minute mixing process to achieve the correct dough structure.
How to freeze the cookies for later?
Cool the cookies completely before placing them in a sealed freezer bag. This prevents condensation from forming inside the bag, which would compromise the texture during the 3-month storage period.
Easy Chewy Chocolate Chip Cookies

Ingredients:
Instructions:
Nutrition Facts:
| Calories | 233 kcal |
|---|---|
| Protein | 2.2 g |
| Fat | 12.1 g |
| Carbs | 30.5 g |
| Fiber | 1.1 g |
| Sugar | 22.2 g |
| Sodium | 148 mg |
