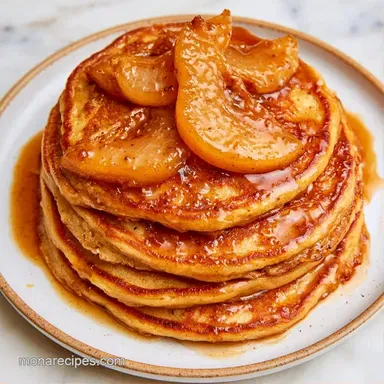
Cinnamon Spiced Pear Pancakes
- Time: 8 min active + 22 min cook
- Flavor/Texture Hook: Cinnamon spiced and springy with juicy pear bits
- Perfect for: Slow weekend mornings or a cozy family brunch
The smell of cinnamon and warm butter hitting a hot skillet is the only way to start a rainy October morning. I usually make these when the house feels a bit too cold and I need something that feels like a warm blanket.
There is a specific kind of quiet that comes with flipping batter while the coffee machine gurgles in the background.
Most fruit based breakfasts end up as heavy, soggy discs where the fruit just turns into a mushy center. You've probably had those pancakes that feel more like a wet sponge than a treat. These Pear Pancakes fix that by treating the fruit as a textured ingredient rather than a liquid additive.
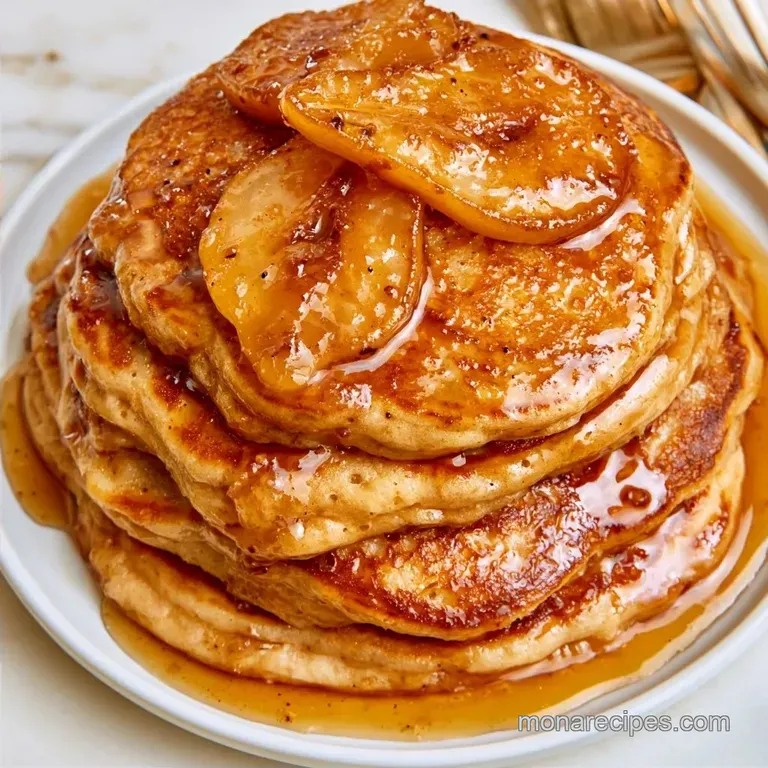
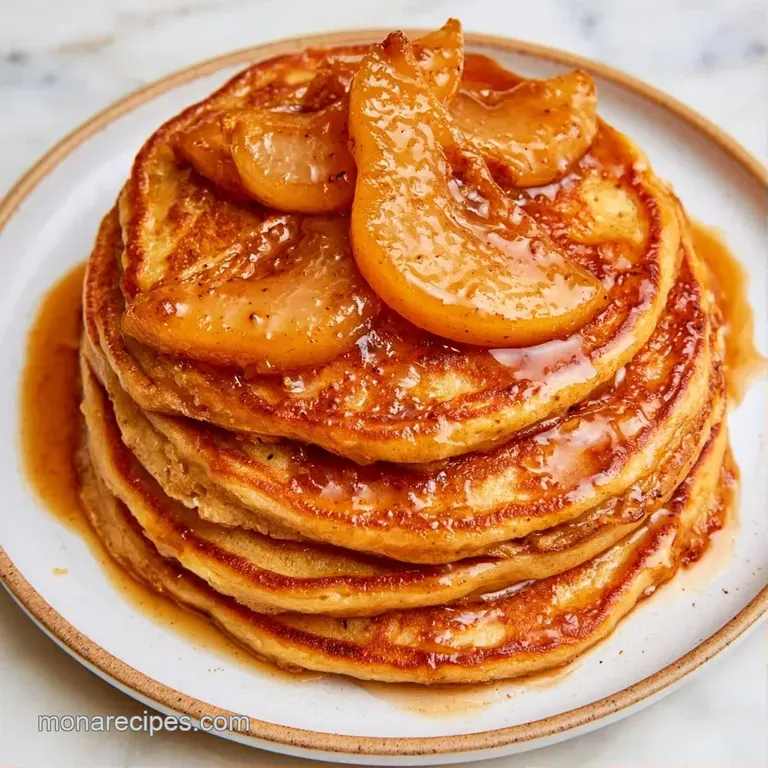
The goal here is a sharp contrast. You get the crisp, mahogany edges of the pancake against the soft, juicy bursts of ripe pear. It turns a simple breakfast into something that feels intentional and bright.
The Logic Behind the Fluff
Moisture Control: Pressing the grated pear on a paper towel removes the excess juice that usually thins out the batter. This keeps the structure firm so the pancakes rise upward instead of spreading thin.
Fruit Distribution: Grating the fruit instead of slicing it ensures that the pear is suspended throughout the batter. This prevents the fruit from sinking to the bottom and burning before the center is cooked.
| Method | Time | Texture | Best For |
|---|---|---|---|
| Stovetop | 30 mins | Crisp edges, fluffy center | Traditional stacks |
| Oven (Sheet) | 20 mins | Uniform, cake like | Large crowds |
Since we're keeping things cozy, I usually stick to the stove. But if you're hosting a brunch, a sheet pan is a lifesaver. For those who love fruit forward treats, you might also enjoy a Pear Puff Pastry Tart for a lighter dessert.
Quick Pear Pancakes Specs
These Pear Pancakes rely on a balance of warm spices and fresh fruit. The batter is thick and creamy, while the finished product has a distinct springiness. To get the best results, use a pear that is ripe but still holds its shape when grated.
The flavor map is simple but effective: - Sweetness from the maple syrup and ripe fruit. - Warmth from the cinnamon and ginger. - A rich, buttery finish on the palate.
The Shopping List Breakdown
The choice of flour and fat determines the final crumb. I use all purpose flour for a reliable structure, but you can swap it for a 1:1 gluten-free blend if needed. Whole milk provides the fat necessary for a tender bite.
For the fruit, Bosc or Anjou pears work well because they aren't too watery. If you use a pear that's overripe, you'll need to spend an extra minute pressing it into the paper towel to avoid a runny batter.
Necessary Kitchen Gear
Basic tools will do the trick. You'll want a medium bowl for the dry ingredients and a second one for the wet components. Use a silicone spatula to gently fold in the fruit so the batter stays airy.
The essential piece of equipment is a heavy bottomed skillet. Cast iron is my top choice for its even heat retention. You can use a non-stick pan instead, though you'll lose some of that characteristic deep browning.
The Cooking Process
Phase 1: The Moisture Prep
- Peel the pear and grate it using the coarse side of the grater.
- Spread the grated pear onto a paper towel. Press lightly for 2-3 minutes until the towel is damp but not soaked. Note: This prevents the Pear Pancakes from becoming soggy.
Phase 2: Mixing the Batter
- Whisk together 190g flour, 10g baking powder, 1.5g salt, 2g cinnamon, and 0.5g ginger in a medium bowl.
- In a separate bowl, whisk one 50g egg, 240ml milk, 30ml melted butter, 15ml maple syrup, and 5ml vanilla extract.
- Pour the wet mixture into the dry bowl. Stir with a spatula until just combined, leaving a few streaks of flour.
- Gently fold in the drained grated pear.
Phase 3: The Perfect Sear
- Heat your skillet over medium low heat and add a small knob of butter.
- Pour 60ml of batter per pancake into the skillet.
- Cook for 3 minutes until bubbles form on top and the edges look matte.
- Flip carefully and cook for 2 minutes until mahogany colored and springy to the touch.
Pro Tips and Pitfalls
Fixing Flat Pancakes
If your Pear Pancakes aren't rising, check your baking powder. If it's older than six months, it probably lost its punch. Also, stop stirring the moment the flour disappears. Over mixing develops too much gluten, which makes the pancakes tough and flat.
Preventing Burnt Edges
When the outside browns too fast but the center stays raw, your heat is too high. Lower the flame and wait a minute for the pan to cool slightly. I've learned that a steady medium low heat is the only way to get that deep color without scorching the butter.
Managing Fruit Texture
If the pears feel too mushy, you might be grating them too finely. Use the larger holes of the grater to keep some structural integrity. This ensures you get those little pockets of fruit in every bite of the Pear Pancakes.
Handling Batter Consistency
If the batter looks too thin, fold in one tablespoon of flour at a time. Pears vary in water content, so you might need a tiny adjustment. The goal is a batter that holds its shape in the pan for a few seconds before spreading.
Fun Flavor Variations
You can easily tweak this Pear Pancakes recipe to fit your mood. For those looking for a healthier option, you can substitute the whole milk with unsweetened almond milk and use honey instead of maple syrup.
Decision Shortcuts:
- Extra zing? → fold in 1 tsp lemon zest
- Nutty crunch? → add 2 tbsp chopped walnuts
- Bolder spice? → increase ginger to 1/2 tsp
For a Ginger Pear Pancakes profile, double the ginger and add a pinch of ground cloves. If you're making these for a toddler, these work great as Baby Led Weaning Pear Pancakes since they are soft and easy to chew. For Pear Pancakes for Baby, just omit the maple syrup and vanilla to keep the sugar low.
If you need a version without eggs, a "flax egg" (1 tbsp ground flaxseed meal mixed with 3 tbsp water) works as a binder for Pear Pancakes No Egg. Just let the flax mixture sit for 5 minutes before adding it to the wet ingredients.
Since these have a similar flavor profile to a tart, they pair well with a side of Salad with Goat Cheese recipe for a full brunch spread.
Storage and Freshness Guide
Store leftover Pear Pancakes in a container with a piece of paper towel at the bottom to absorb any condensation. They stay good in the fridge for 3 days.
For longer storage, freeze them with parchment paper between each pancake. This prevents them from sticking together in a giant block. They'll keep their quality in the freezer for about 2 months.
To reheat, avoid the microwave if you want the edges to stay crisp. Use a toaster or a dry skillet over medium heat for 2 minutes per side. This brings back that original springy texture.
To reduce waste, don't toss the pear peels. You can simmer them with a cinnamon stick and a bit of water to make a quick, fragrant syrup to drizzle over the top.
Serving and Enjoying Tips
The classic way to serve Pear Pancakes is in a tall stack with a slab of salted butter on top. The salt cuts through the sweetness of the pear and maple syrup. A drizzle of warm honey or a dusting of powdered sugar also works well.
For a protein packed plate, serve them alongside two poached eggs and some crisp bacon. The savory elements balance the fruit's natural sugar. You can also top them with a dollop of Greek yogurt and a sprinkle of granola for added crunch.
| Ingredient | Substitute | Why It Works |
|---|---|---|
| Whole Milk (240ml) | Oat Milk (240ml) | Similar creaminess. Note: Adds a slight grain sweetness |
| All Purpose Flour (190g) | Spelt Flour (190g) | Heartier flavor. Note: Result is slightly denser |
| Maple Syrup (15ml) | Honey (15ml) | Similar sweetness. Note: Honey has a stronger floral scent |
The key to a great presentation is the flip. When you see those mahogany edges, you know you've hit the mark. Serve them immediately while the steam is still rising from the stack.
Common Kitchen Myths
Some people think you should let pancake batter rest for an hour. While resting can help some recipes, these Pear Pancakes have fresh fruit that can release more moisture over time. It's better to cook them shortly after mixing to keep the lift.
Another myth is that adding more baking powder always means fluffier pancakes. In reality, too much leavening agent creates a metallic aftertaste and can cause the pancakes to collapse in the middle. Stick to the 10g measurement for the best results.
According to USDA guidance, ensure your eggs are handled safely and stored at the correct temperature to avoid contamination. Most home cooks don't worry about this, but it's a good habit for anyone serving a crowd.
These homemade Pear Pancakes are a simple way to bring a bit of seasonal warmth to your table. Whether you're making a quick batch for yourself or a huge stack for the kids, the combination of ginger, cinnamon, and ripe fruit never fails.
Once you've tried the draining method, you'll never go back to the soggy fruit versions. Enjoy your morning!
Recipe FAQs
Is it true that adding fresh fruit directly to pancake mix works well?
No, and here's why. Excess moisture from raw fruit thins the batter and prevents a proper rise.
Tip: press grated fruit onto a paper towel first to remove excess liquid.
What prevents pear pancakes from becoming too soggy?
Grate the pear on the coarse side and drain it on a paper towel for 3 minutes.
Tip: this step ensures the pancakes stay fluffy rather than gummy.
Can I substitute the pears for another fruit?
Use apples or peaches for a similar flavor profile.
Tip: if you prefer a baked fruit dessert, try making pear crisp.
How to reheat these pancakes without making them rubbery?
Place them in a toaster or a dry skillet over medium heat for 22 minutes per side.
Tip: skip the microwave to preserve the crisp edges.
When is the best time to flip the batter?
Wait for bubbles to form on the surface and the edges to look matte, usually around 3 minutes.
Tip: flip carefully once to maintain the height.
Do I need to overmix the batter to ensure it's smooth?
That's a myth. Stirring too much develops excess gluten and makes the pancakes dense.
Tip: stop stirring while a few streaks of flour still remain.
Cinnamon Pear Pancakes